Astratic is a theme based on the Gutenberg visual editor and native WordPress functions. It is made for building websites. Here is a step-by-step instruction on how to run a website on WordPress and Astratic.
How to install a theme in WordPress?
The theme is responsible for the visual part of the WordPress website. You can take advantage of the free themes. Their advantage is that they don’t have a complicated configuration as they contain few options. They are great for people who are starting to create websites. Paid themes already have more extensive options, as well as the appearance itself. Their configuration is a bit more difficult. For paid themes, you get free developer support included in the price. They are also updated regularly. This increases the security of the website.
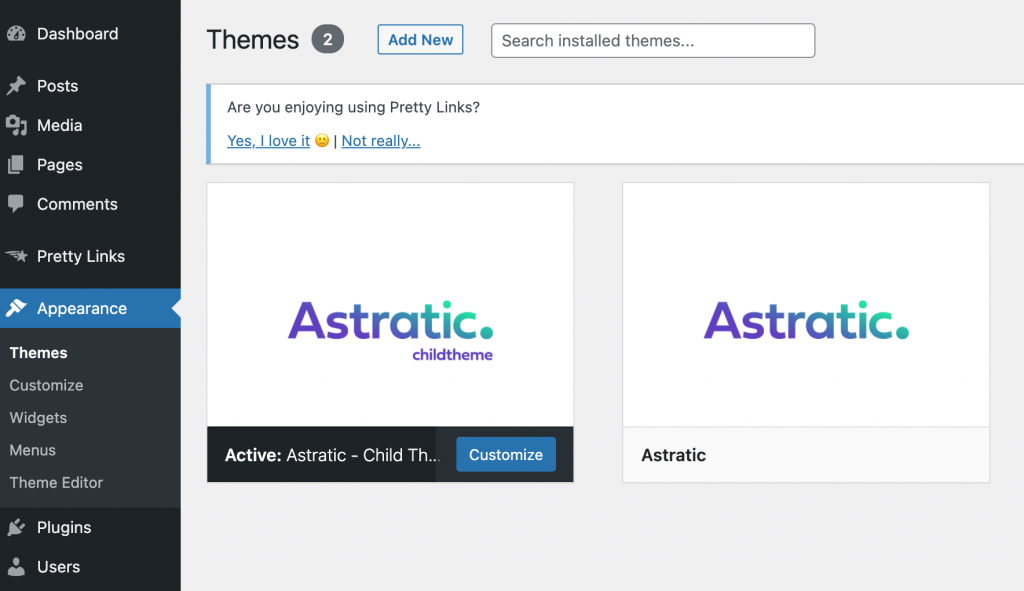
- In the admin panel go to the tab: Appearance> Themes
- Then go to the option: Add New
- You can use the search engine: Search themes
- The Feature Filter option may be useful in the search, thanks to which you can search for themes in terms of topic, properties or layout.
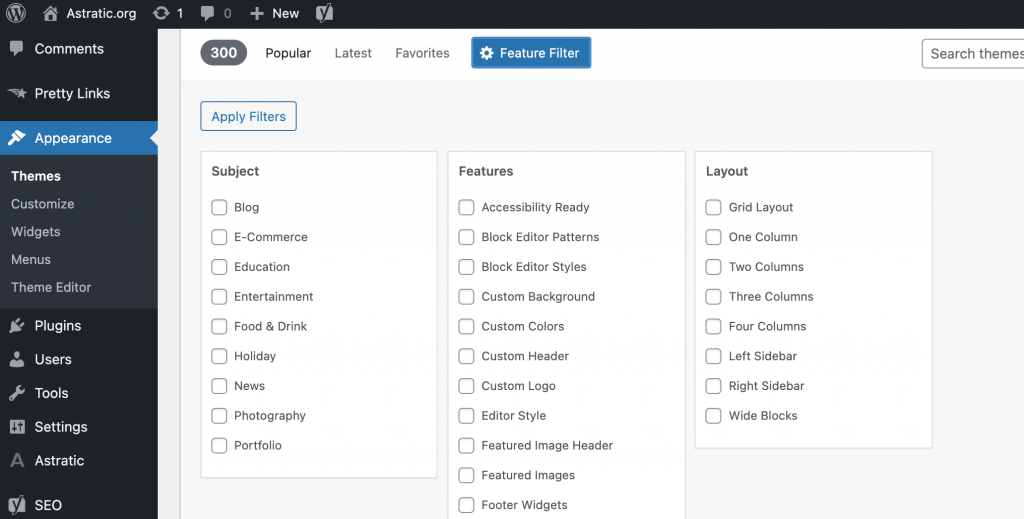
- Before installing, you always have the option of Live Preview to see if the theme suits you.
- Now just choose the theme, click the Install button and the installation process will start automatically. Once installed, your theme will be available from the Themes panel and ready to edit (Customize option will appear).
- After the changes, go to the page to check if all changes have been implemented correctly.
If you have your own WordPress theme (created by a developer or purchased from us), below is a brief instruction on how to upload it to your WordPress site.
- Log in to the admin panel and in the menu on the left select: Appearance> Theme
- After clicking Add a new theme in the upper part you will see the option Send theme to server
- After clicking, a window will open with the option to load a file with the theme (.zip) and send it to the server
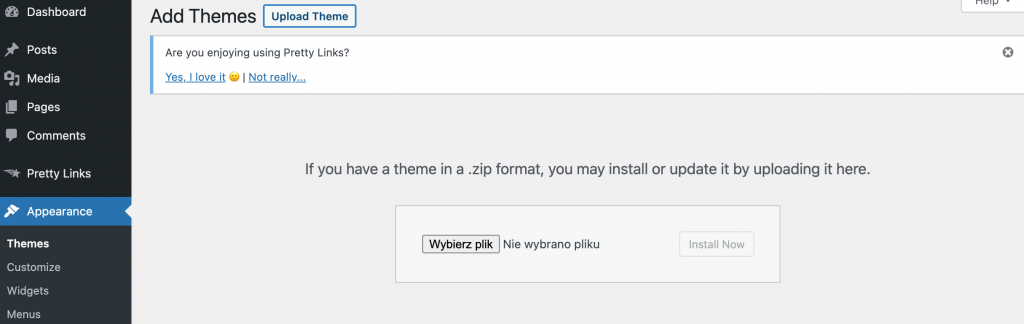
- After loading, the installation process will start automatically, and after it is finished, the loaded theme will be available from the Themes panel with the possibility of editing and making your own changes Customize.
Remember to make a backup before making any changes. Thanks to this, you protect your current work. Make theme updates every time changes are made.
How to set up a logo and set colors, fonts: customize WordPress
In the admin panel you can set the most important elements such as fonts, colors, logos and favicon.
All the most important elements are located right here. To change the color, font or logo settings, go to the side menu and select Appearance> Customize
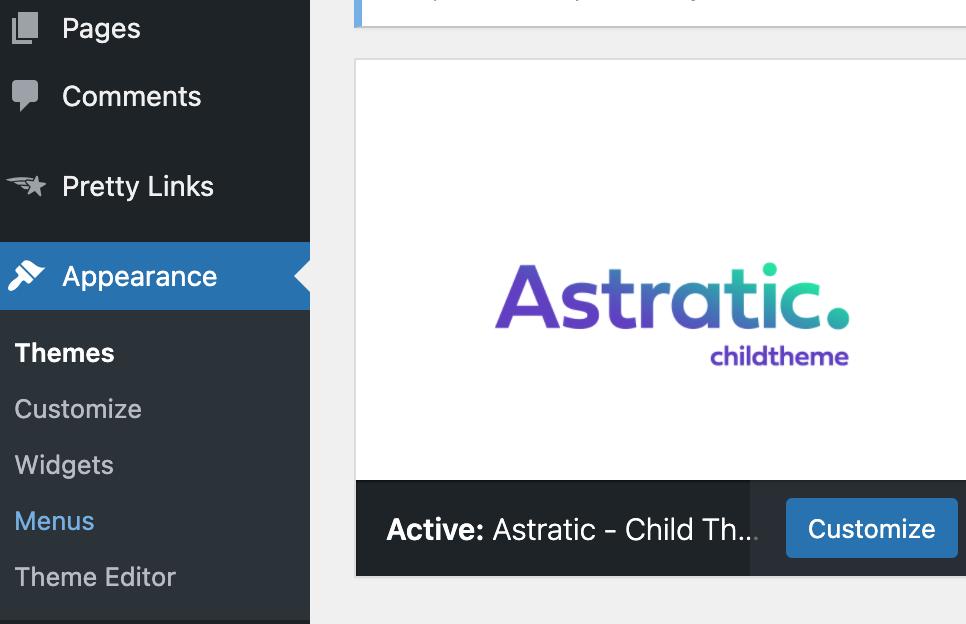
After clicking customize, a menu will appear (on the left) where you will set all the most important elements of the page – website identity, colors, fonts.

Site identity
This is the title of the website (the name of the website), the description of the website (information about what is on the page, it is worth including keywords), Logo (the graphic file that appears in the header of the page), Website icon (the favicon appears in front of the address in the address field) a web browser or on a tab with an open website).
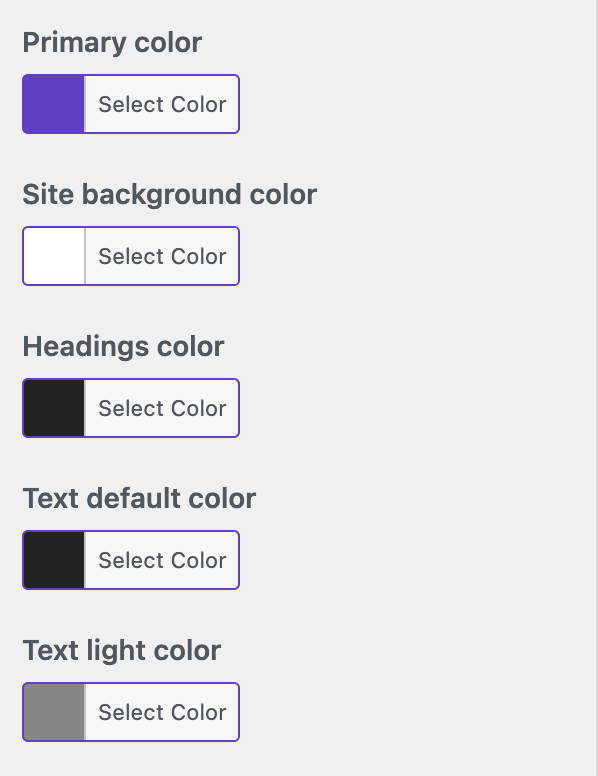
Colors
In the colors tab you will find color settings for headers, website background, buttons and links.
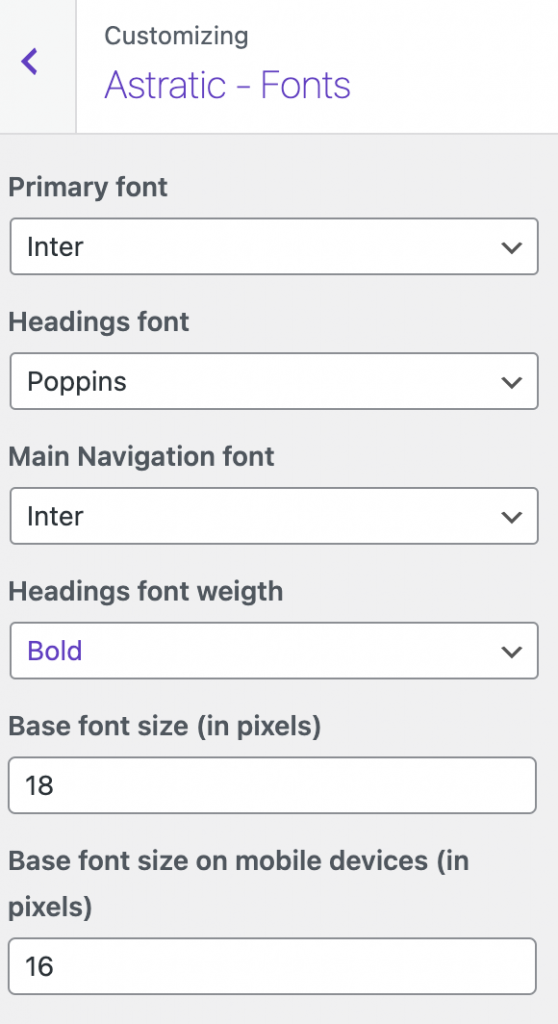
Fonts
This is where you set up primary font, headings font, main navigation font.
Setting permalinks in WordPress
The permalink (direct link) is the URL you see and use for any post, page, or other content on your site. WordPress uses the permalink structure by default, which is not SEO friendly. You can easily change the structure of direct links by creating friendly permalinks (they are important in positioning your website in search results).
How to set up friendly permalinks in WordPress?
In the admin panel:
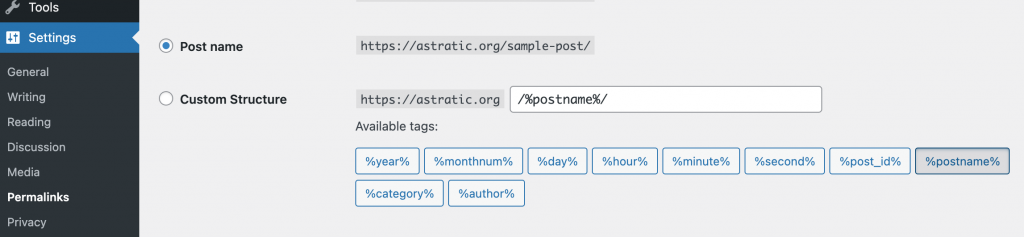
- Go to the menu on the left and the Settings tab> Permalinks
- Select and check the Custom Structure option and enter /% postname% /
- Save your new settings and your ready-made friendly links will work right away
How to remove demo content?
WordPress installed and what’s next? I will present the steps that should be taken after installing a pure WordPress.
Delete example entries and pages
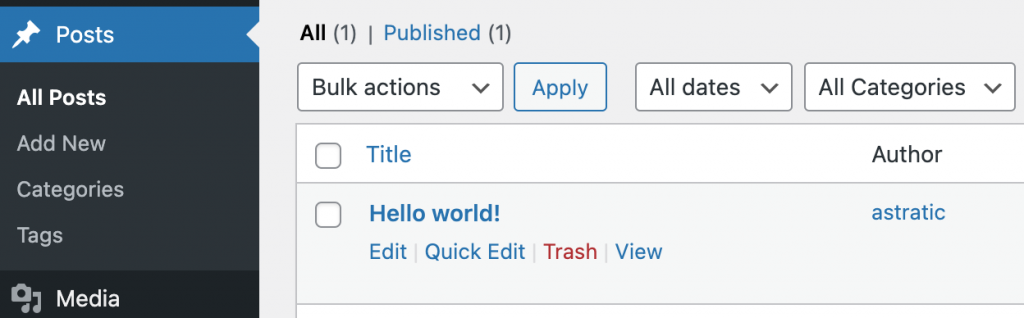
After installing WordPress, some sample content will appear on your site. In the> Post tab you will see the first post called “Hello world”, while in the> Pages tab there is a subpage called “Sample page”. You can delete all these contents and replace them with your own.
To delete the first entry, go to the tab> Post in the admin panel, point the cursor at it, and then click> Trash
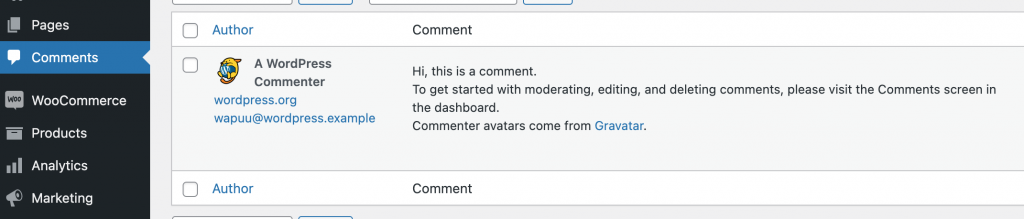
The first comment appears below the example entry ,,Hi, this is a comment. To get started with moderating, editing, and deleting comments, please visit the Comments screen in the dashboard.”
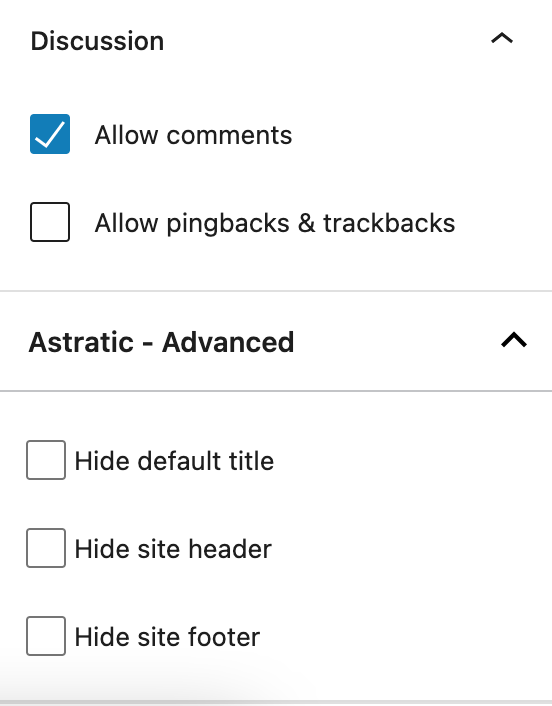
If no content has been posted on your website yet, you can disable commenting on posts. To do this, you need to go to the WordPress admin panel:
- Go to Settings> Discussion
- Uncheck> Allow people to submit comments on new posts
- Save

Removal of the themes installed by default
The default WordPress theme is a template that is automatically added during the first installation of the system.
You can change it to a different one at any time by installing a new template.
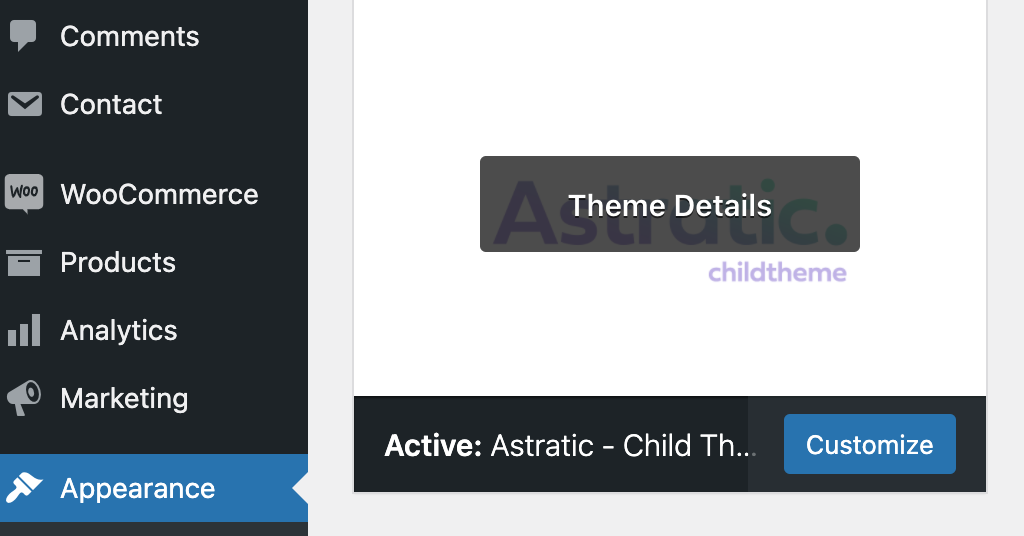
To remove a theme that is installed by default in WordPress, you need to go to the admin panel. Then select the Appearance> Themes> Theme Details tab and then “Delete Template“. If the theme you want to remove is active and showing on your site, you need to activate another theme as WordPress does not allow you to remove the active one.
Enable / disable indexing by search engines
Indexing pages is adding them to the search engine. In order for a website to appear in search results, the website must be indexed by Google.
Checking If Your Site is Indexed
How to check if a page has already been included in the Google database? There is a simple way to do it, just enter the phrase: site: site_address
If the page is not included in the search engine database, check the indexing block in WordPress. In the admin panel on the left side menu, go to Settings> Reading> Search engine visibility. Make sure ,,Discourage search engines from indexing this site” is not selected.

Installation and activation of the Yoast SEO plugin
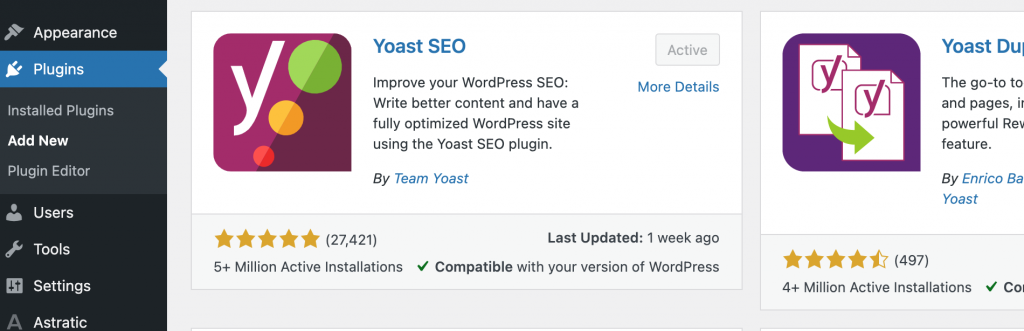
Yoast SEO plugin is one of the most popular plugins for WordPress websites. It is a clever tool that allows you to achieve the best search engine rankings. To install it, go to your WordPress admin panel and select: Plugins> Add New> Search for Yoast SEO plugin and install.
Activate the plugin after the installation is complete. You can activate or deactivate a plug-in by selecting Plugins> Installed plugins in the menu.

After installing and activating the Yoast SEO plugin, you can start creating content and publishing it on your website.
Creating subpages
Creating subpages in WordPress is a very simple process. Here is a step-by-step instruction on how to do it. To add a new page in the admin panel:
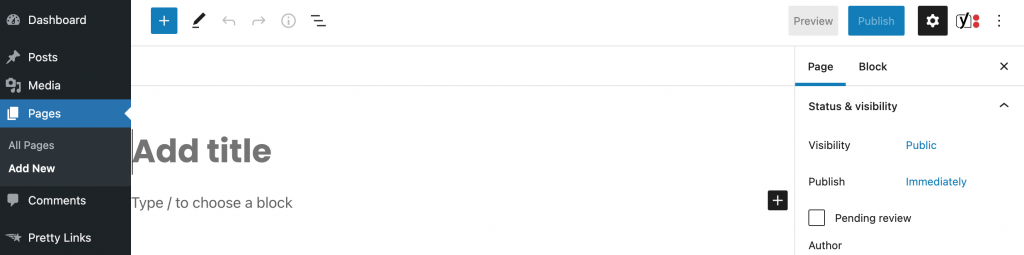
- Go to the Pages tab> Add New
- Add a page title. You can add content, photos / graphics and other elements using WordPress editor blocks.
- Publish.
Creating the main menu
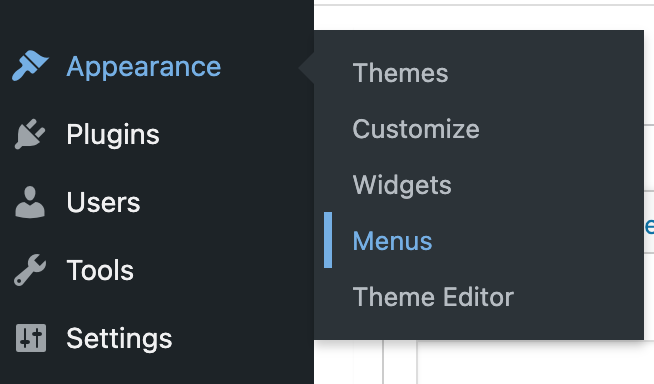
To create the main menu, go to the WordPress admin panel:
- Select the Appearance> Menu
- Select a page from the list that you want to add to the menu and click the Add to menu
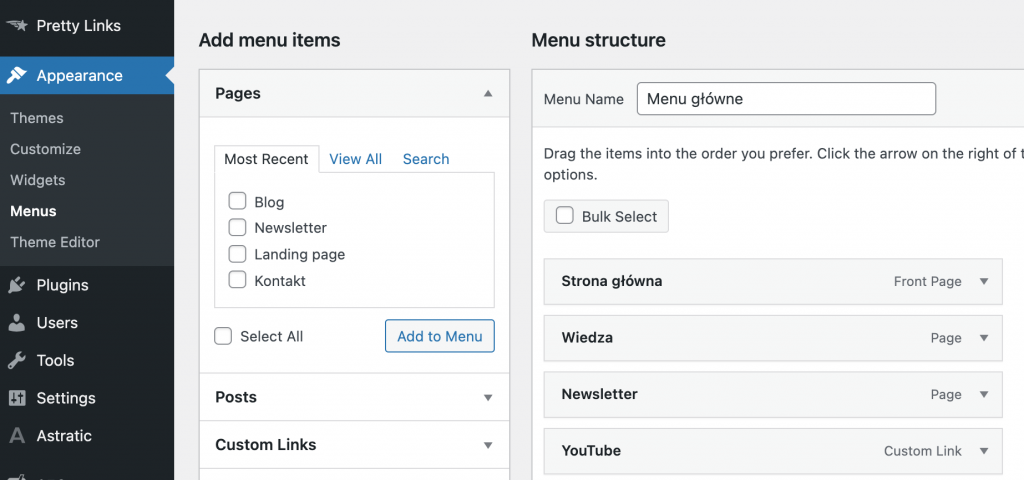
You can change the order of pages in the menu as you like (just move it up or down).
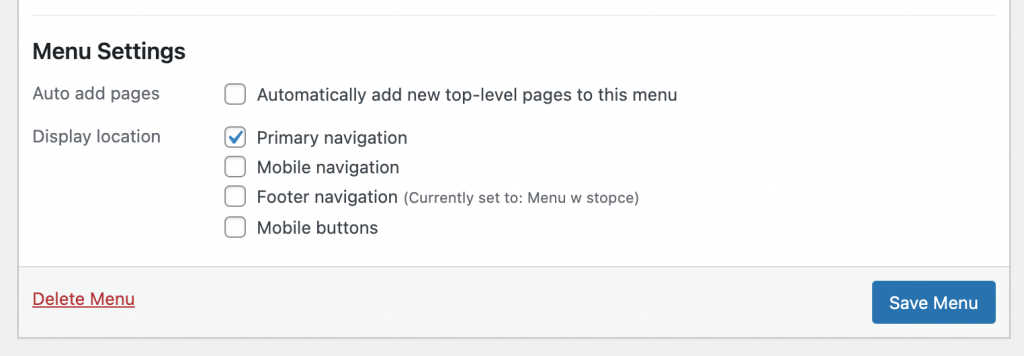
In the menu settings, in the Display location section, select the appropriate type of menu, eg Main navigation if the menu is to be displayed at the top of the page.
Each item added to the menu can be customized to suit your needs. To do this, click on the arrow in the right corner of the beam with the name of this element. A form will appear in which you will: change the navigation label, move the link to another place in the list or delete the link.

You can save the ready menu> Save menu
Posts, categories, tags
Adding content in WordPress is very simple. One of the most important forms of adding content in this CMS are posts. Posts can be assigned publication dates, author, tags and categories.
How to add a WordPress post?
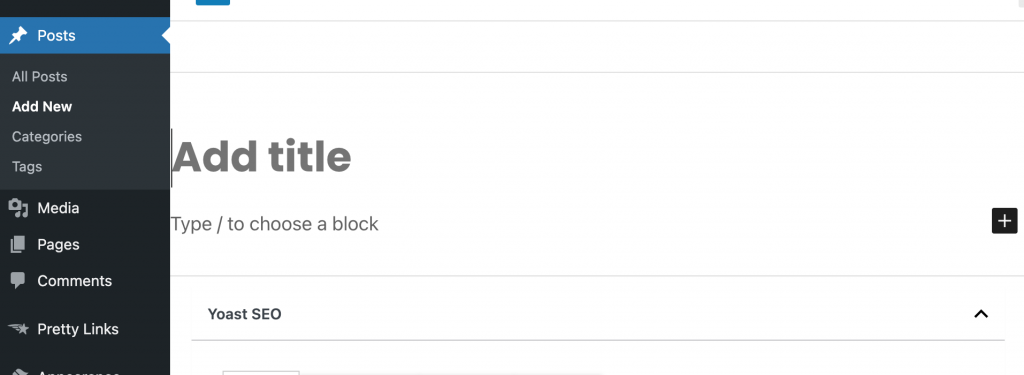
- In the admin panel, go to the menu on the left, click Posts> Add New
- Add a title and text
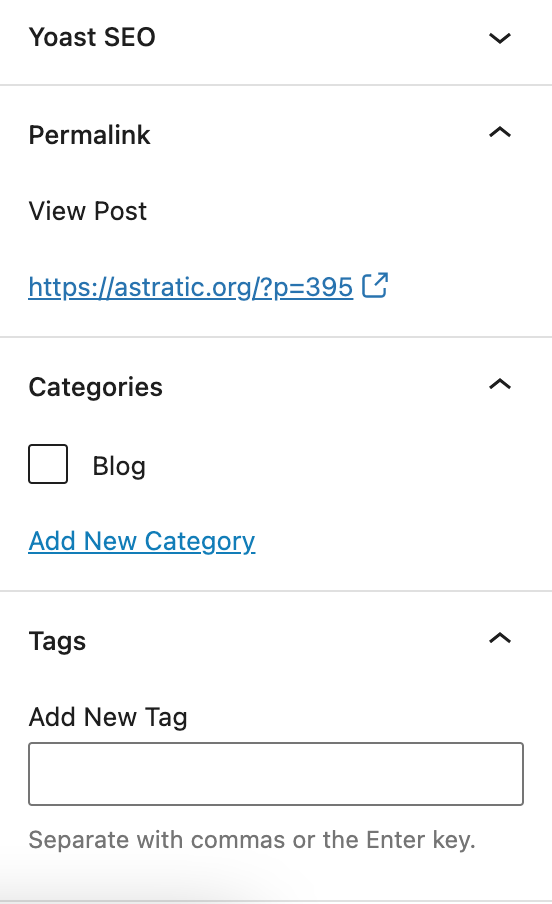
- Assign the post to a selected category and tag it, set a distinguishing image and the ability to comment on the post (in the menu on the right).
- When the post is ready, you can publish it or save it as a draft (pre-edited post).
Tags and categories
Categories and tags play an important role in your posts. They are used to organize them on a blog / website. Thanks to them, both website visitors and system administrator can quickly find interesting content. Tags and categories can be added both from the post level (in the sidebar) and in the main menu of the admin panel: Posts> Tags, Posts> Categories
How to correctly apply tags and categories?
- Tags should not coincide with categories, they should complement each other.
- Select tags related to the topic of the post.
- Do not tag all posts / articles with the same tag.
- It is advisable to add posts to categories.
Configuration of the appearance of posts and categories in Astratic
Customizer is where you can customize your WordPress site. You can change many elements, such as: page colors, fonts, logos. There are also other options that you should use when configuring your website, such as blog settings that allow you to change its appearance. Go to the side menu and choose Appearance> Customize
After clicking customize, a menu will appear (on the left), select> Blog Settings, then> Single Settings
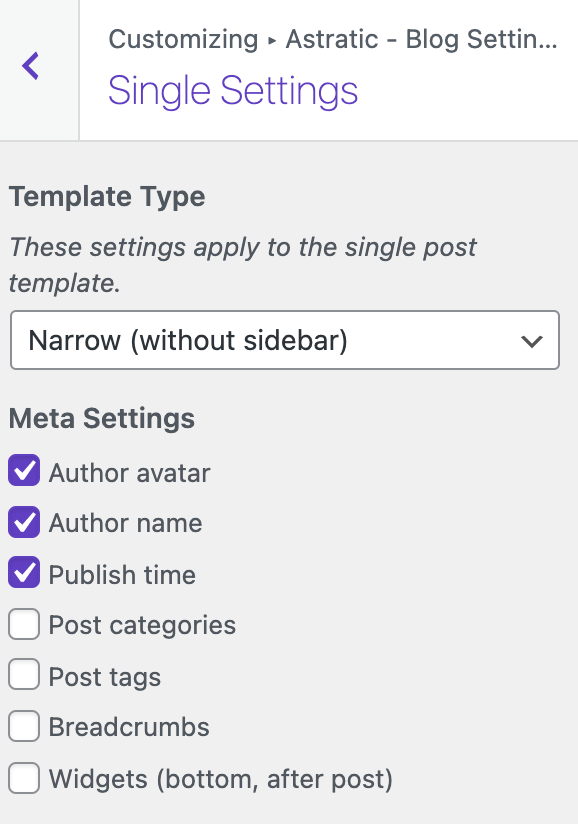
The settings apply to the post view, here you decide which information will appear in the published post (author’s photo and name, date of publication, tags and category of the post).
Create reusable blocks
The Gutenberg editor gives the user the ability to create reusable blocks. They are irreplaceable when certain blocks need to be regularly added to a specific page or post type.
What are reusable blocks?
These are blocks that you set up once, save and reuse in other WordPress posts or pages. It can be a specific layout of the content and graphics, e.g. repeating forms, call-to-action (CTA) buttons. Check out how to create reusable blocks and how to use them. Here is the instruction.
How to create a page with a list of posts
In WordPress, you can create a page with entries. There is a Query Loop block in the Gutenberg editor that allows you to display the entries or pages where you are inserting that block. By using specific functions in the Query Loop block editor, you can customize the page in terms of design, layout and structure. How to use the query loop? Here is the instruction.