In WordPress, you can create a page with entries. A great example is a “blog” page with all the posts sorted by date. How to create such a website? It’s easy, use the query loop.
There is a Query Loop block in the Gutenberg editor that allows you to display the entries or pages where you are inserting that block. By using specific functions in this block, you can customize the page in terms of design, layout and structure.
How to use the query loop?
Click the insertion element (+) and select the Query Loop block from the blocks menu. It consists of two components:
- Query loop
- Post template
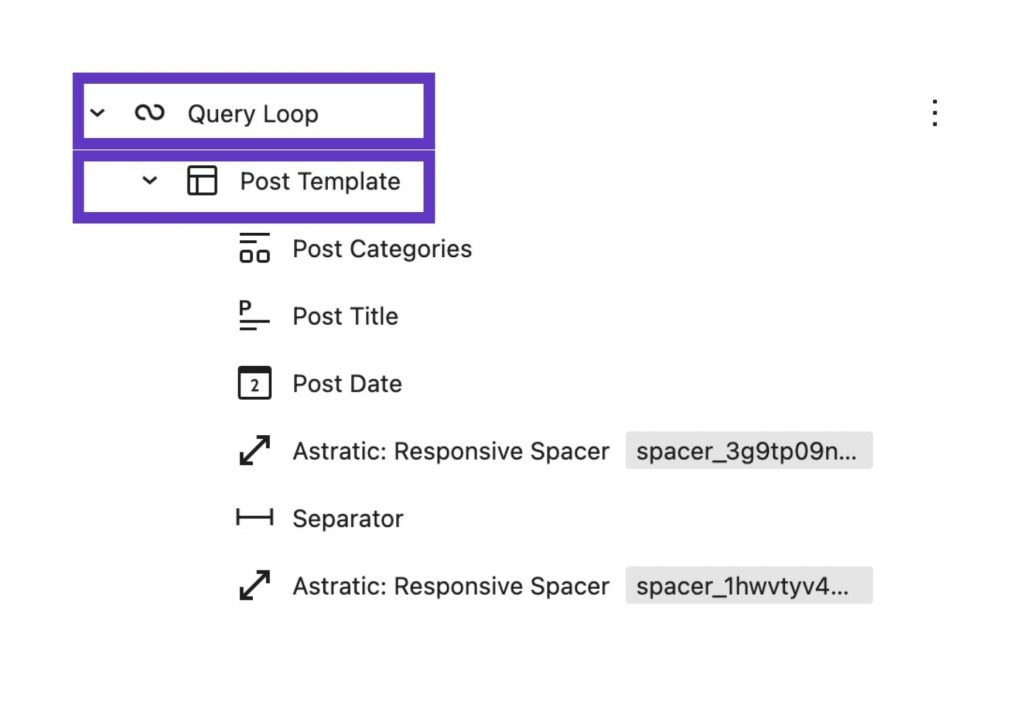
Query loop
Defines which entries, how many there will be, and in what order they will be displayed, e.g. the last 6 blog entries.
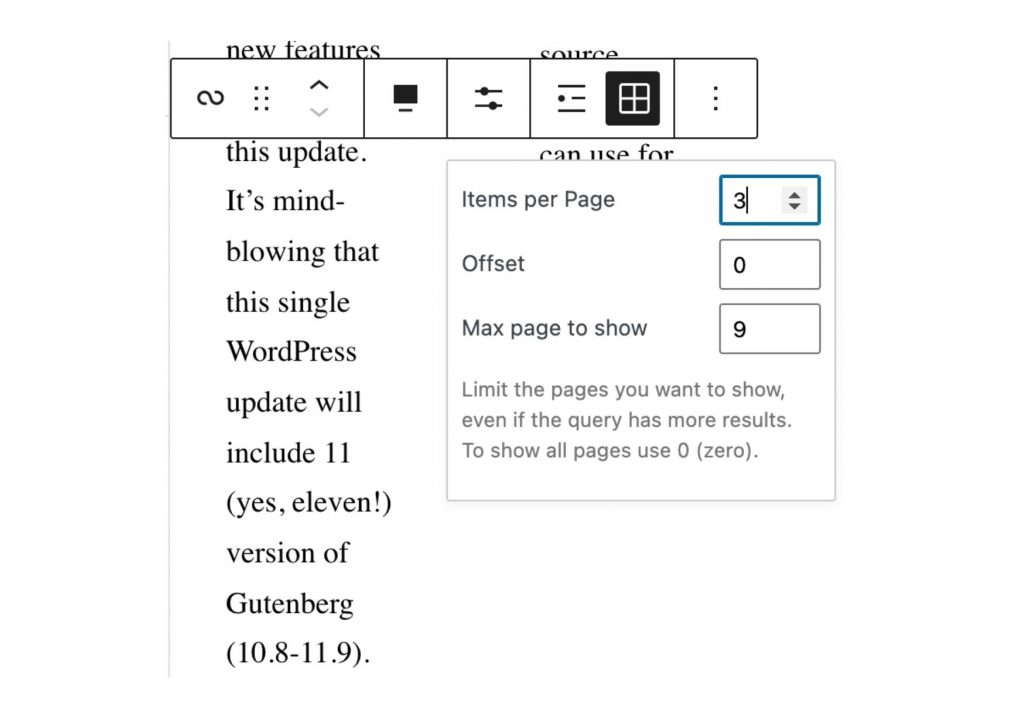
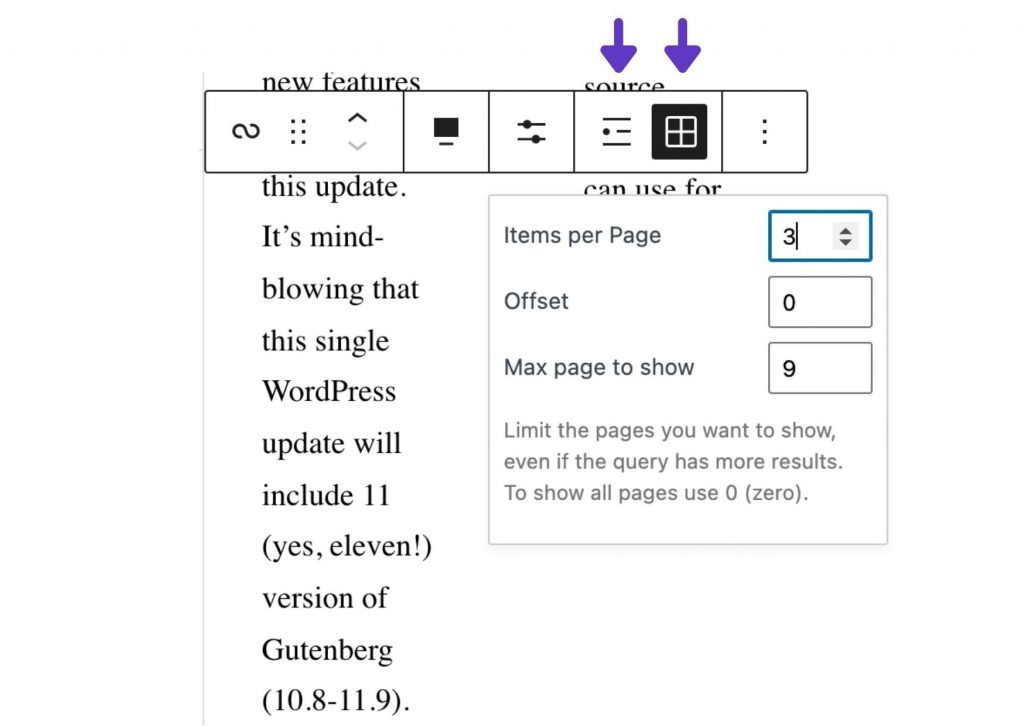
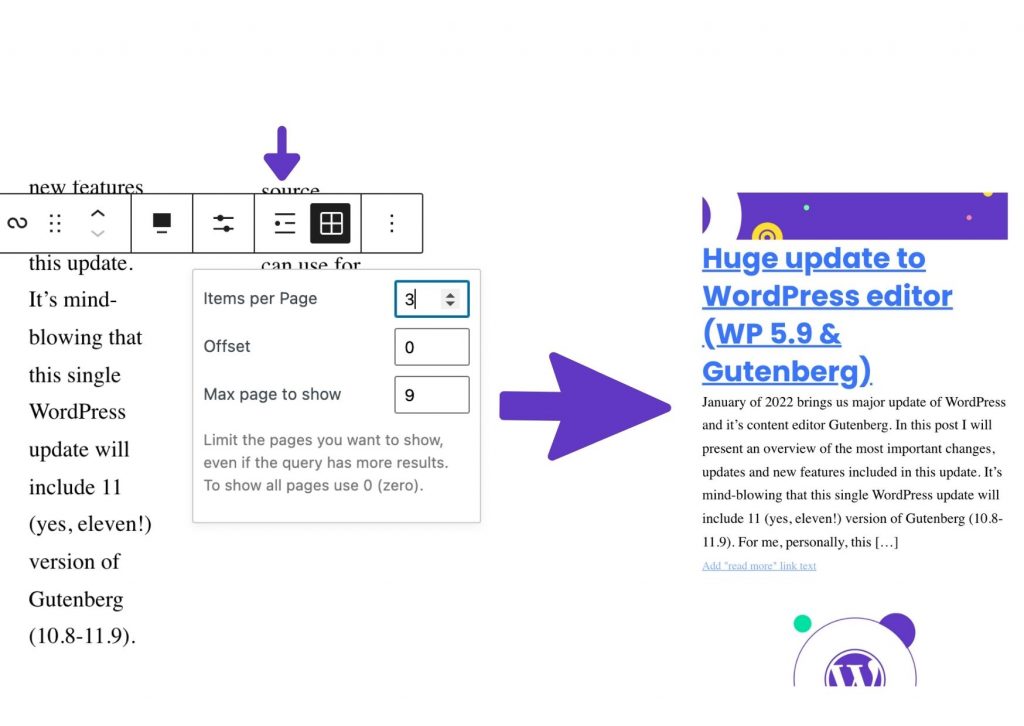
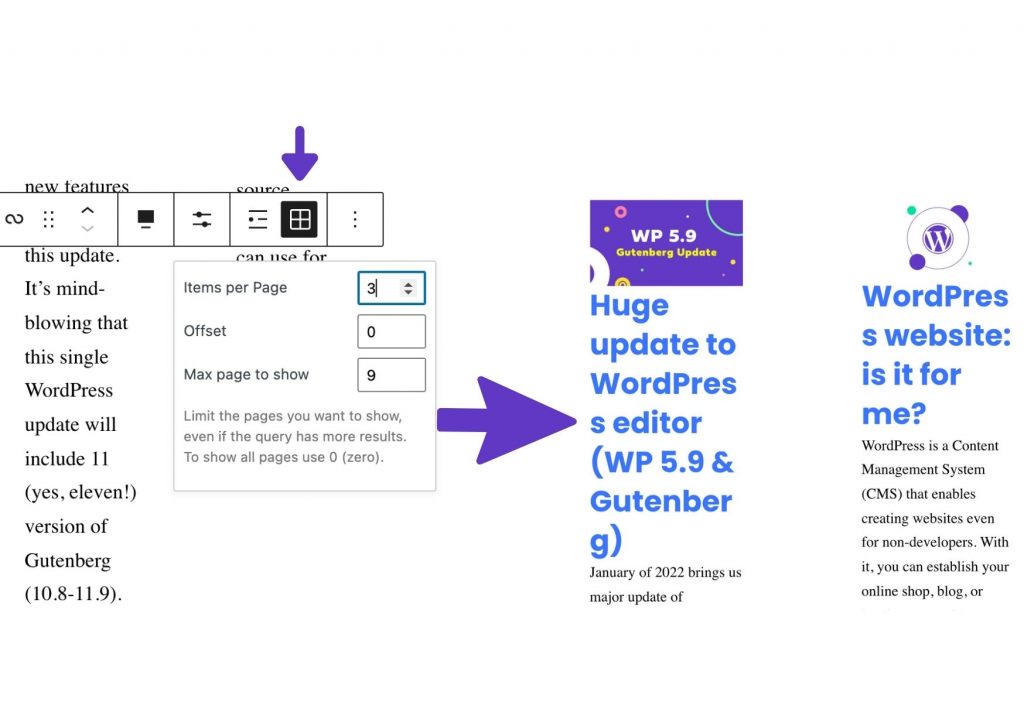
Settings on the top bar:
- Items per page – how many entries per page are to be displayed
- Offset – from which entry we should start the display
- Max page to show – how many pages to display
- List/Grid view – list view is the display of entries one after the other. The grid view displays entries as rows and columns. Set the number of columns in the grid in the sidebar.
Settings on the sidebar:
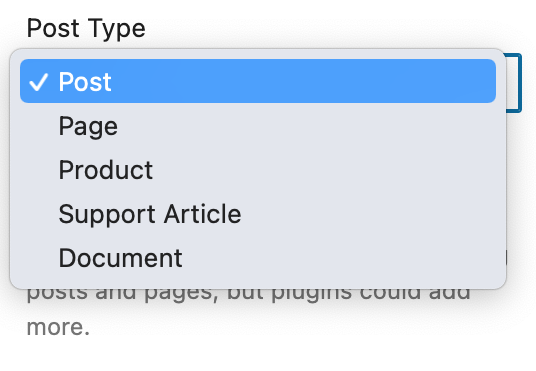
- Post Type (Post, Page, Product, Support Article, Document)
- Columns

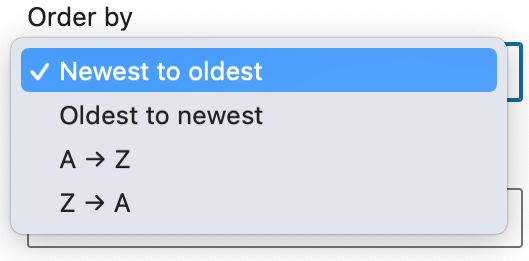
- Order by (Order of displaying entries)
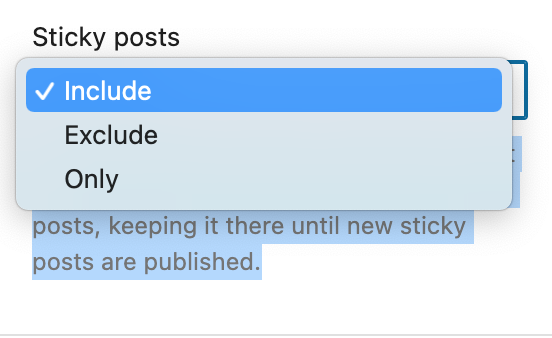
- Sticky posts (Blog posts can be “stickied”, a feature that places them at the top of the front page of posts, keeping it there until new sticky posts are published)
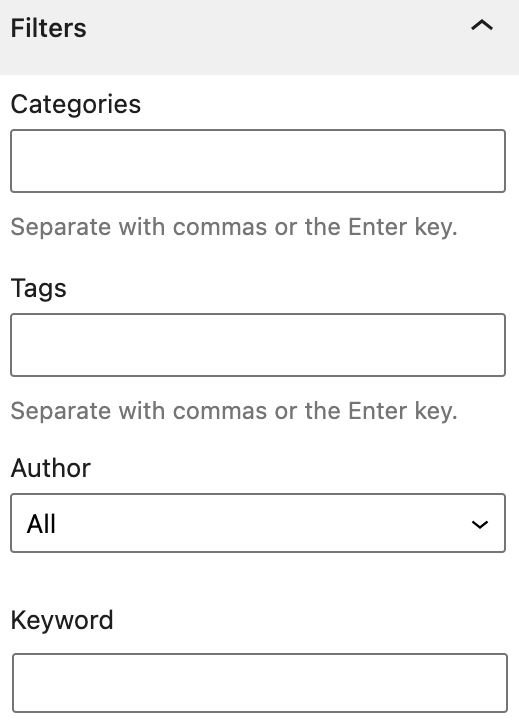
- Filters (displaying entries only from a selected category, tag, given author or containing specific keywords)
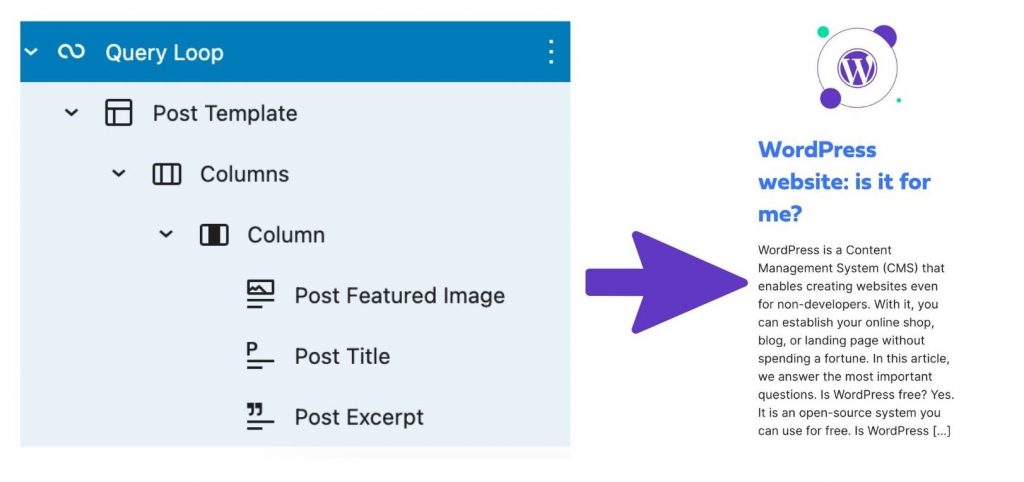
Post Template
Post Template defines which elements of the entry will be displayed and how they will be arranged, e.g. Post Featured Image, Post Date, Post Title, Post Excerpt). You can freely change their order.
Query Pagination
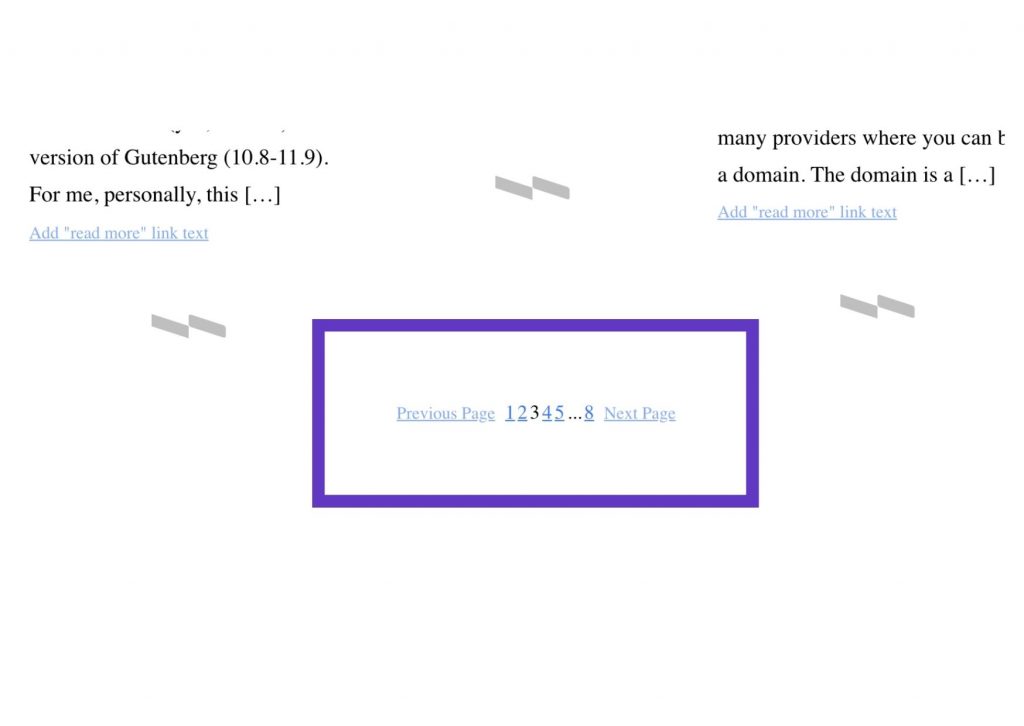
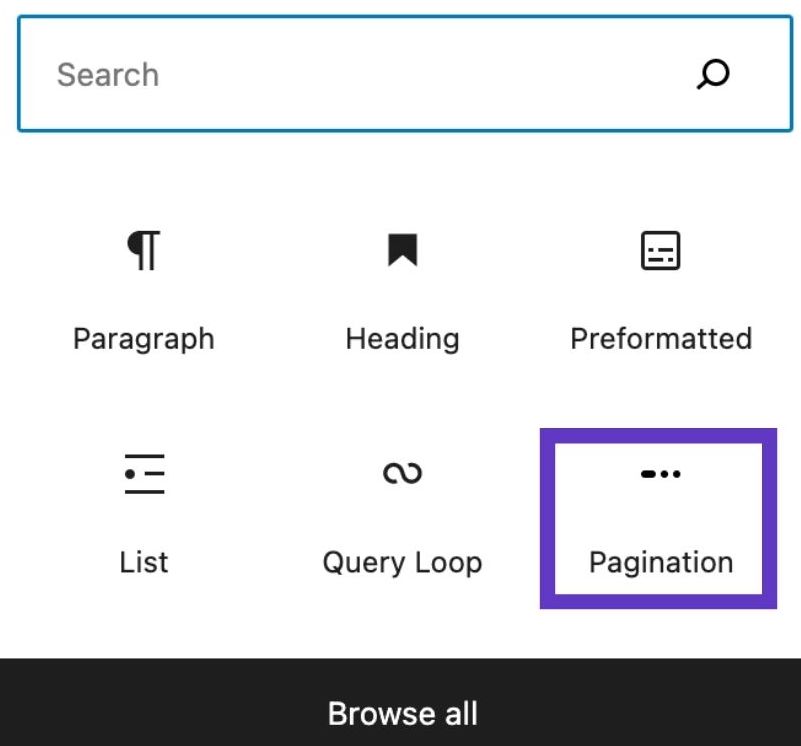
If you want to display more entries, consider adding another Query Pagination block. Thanks to this, the entries will be divided into subpages.
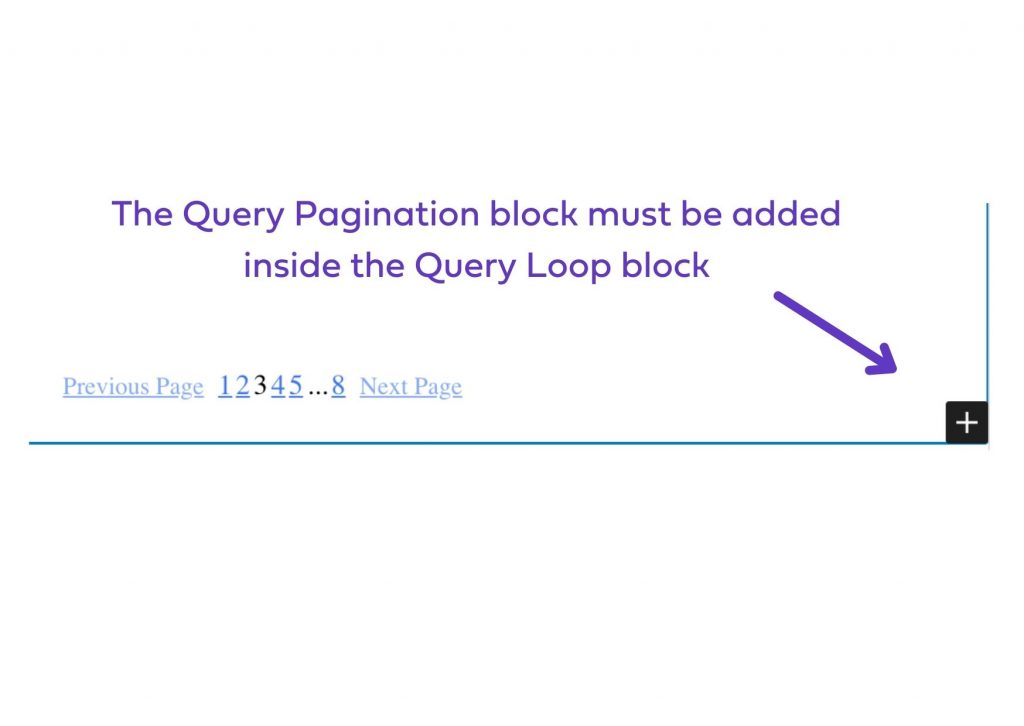
This is what the pagination looks like on the website:
